The Ferrari 488 Pista is the latest lightweight supercar to come from the Maranello-based manufacturer, following in a long line of ultra-focused, track-ready models.
According to a Ferrari spokesperson, only 10 per cent of owners are expected to use it on track – but that doesn’t stop the Pista from being as hardcore as possible.
Here, are the key things you need to know.
Engine
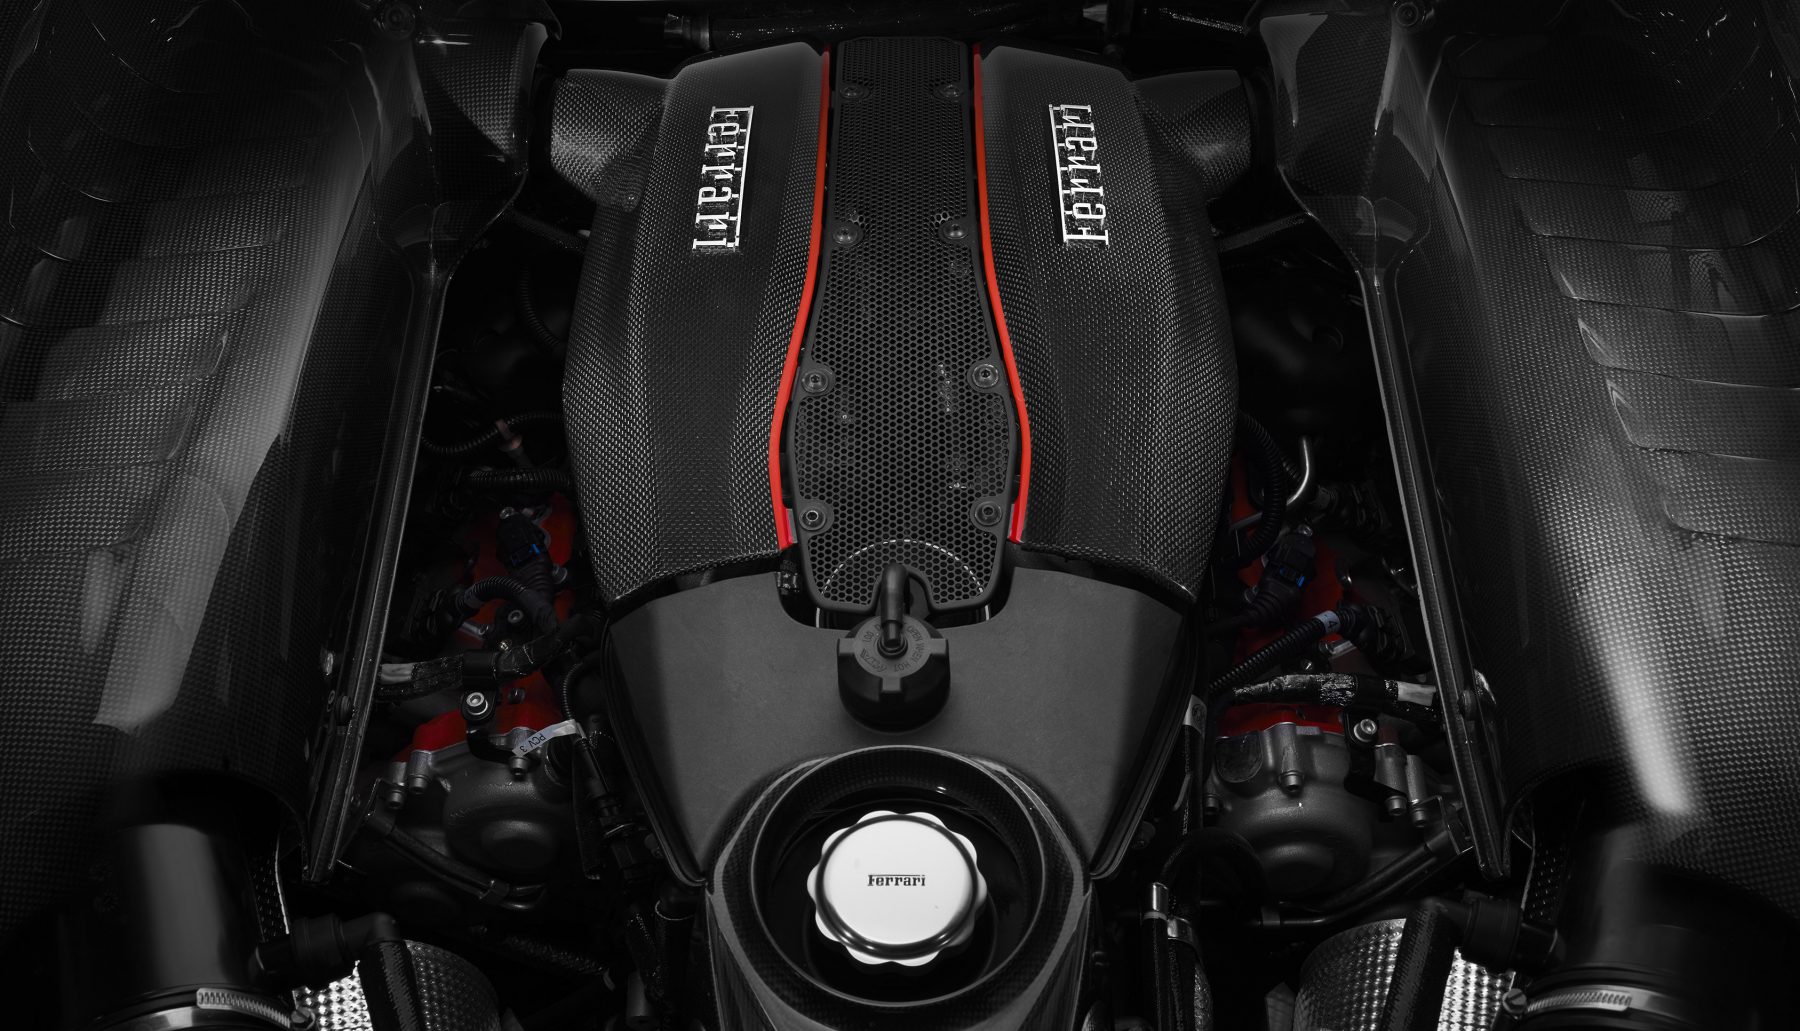
The 488 Pista is powered by the same 3.9-litre twin-turbocharged V8 as the standard 488, but it has been upgraded to deliver 711bhp at 8,000rpm and 770Nm of torque.

That represents a 49bhp increase in power over the engine in the standard 488, affording the Pista with even more brutal performance.
Performance
It only takes 2.65 seconds to do 0-60mph and can carry on to a top speed in excess of 211mph.

Incredibly, that beats the official acceleration time of Ferrari’s LaFerrari hypercar. It matches the figures set by the Pista’s main rival – the Porsche 911 GT3 RS too. The German manufacturer claims a 0-60mph time of 2.6 seconds, as well as a top speed of 211mph.
Gearbox
The 488 Pista features a gearbox capable of high-performance shifting, which is available in the race position.

This reduces shifting time and allows for more positive acceleration when a higher gear is engaged. Large gearshift paddles are located behind the steering wheel, allowing for easy shifts.
Lightweight interior
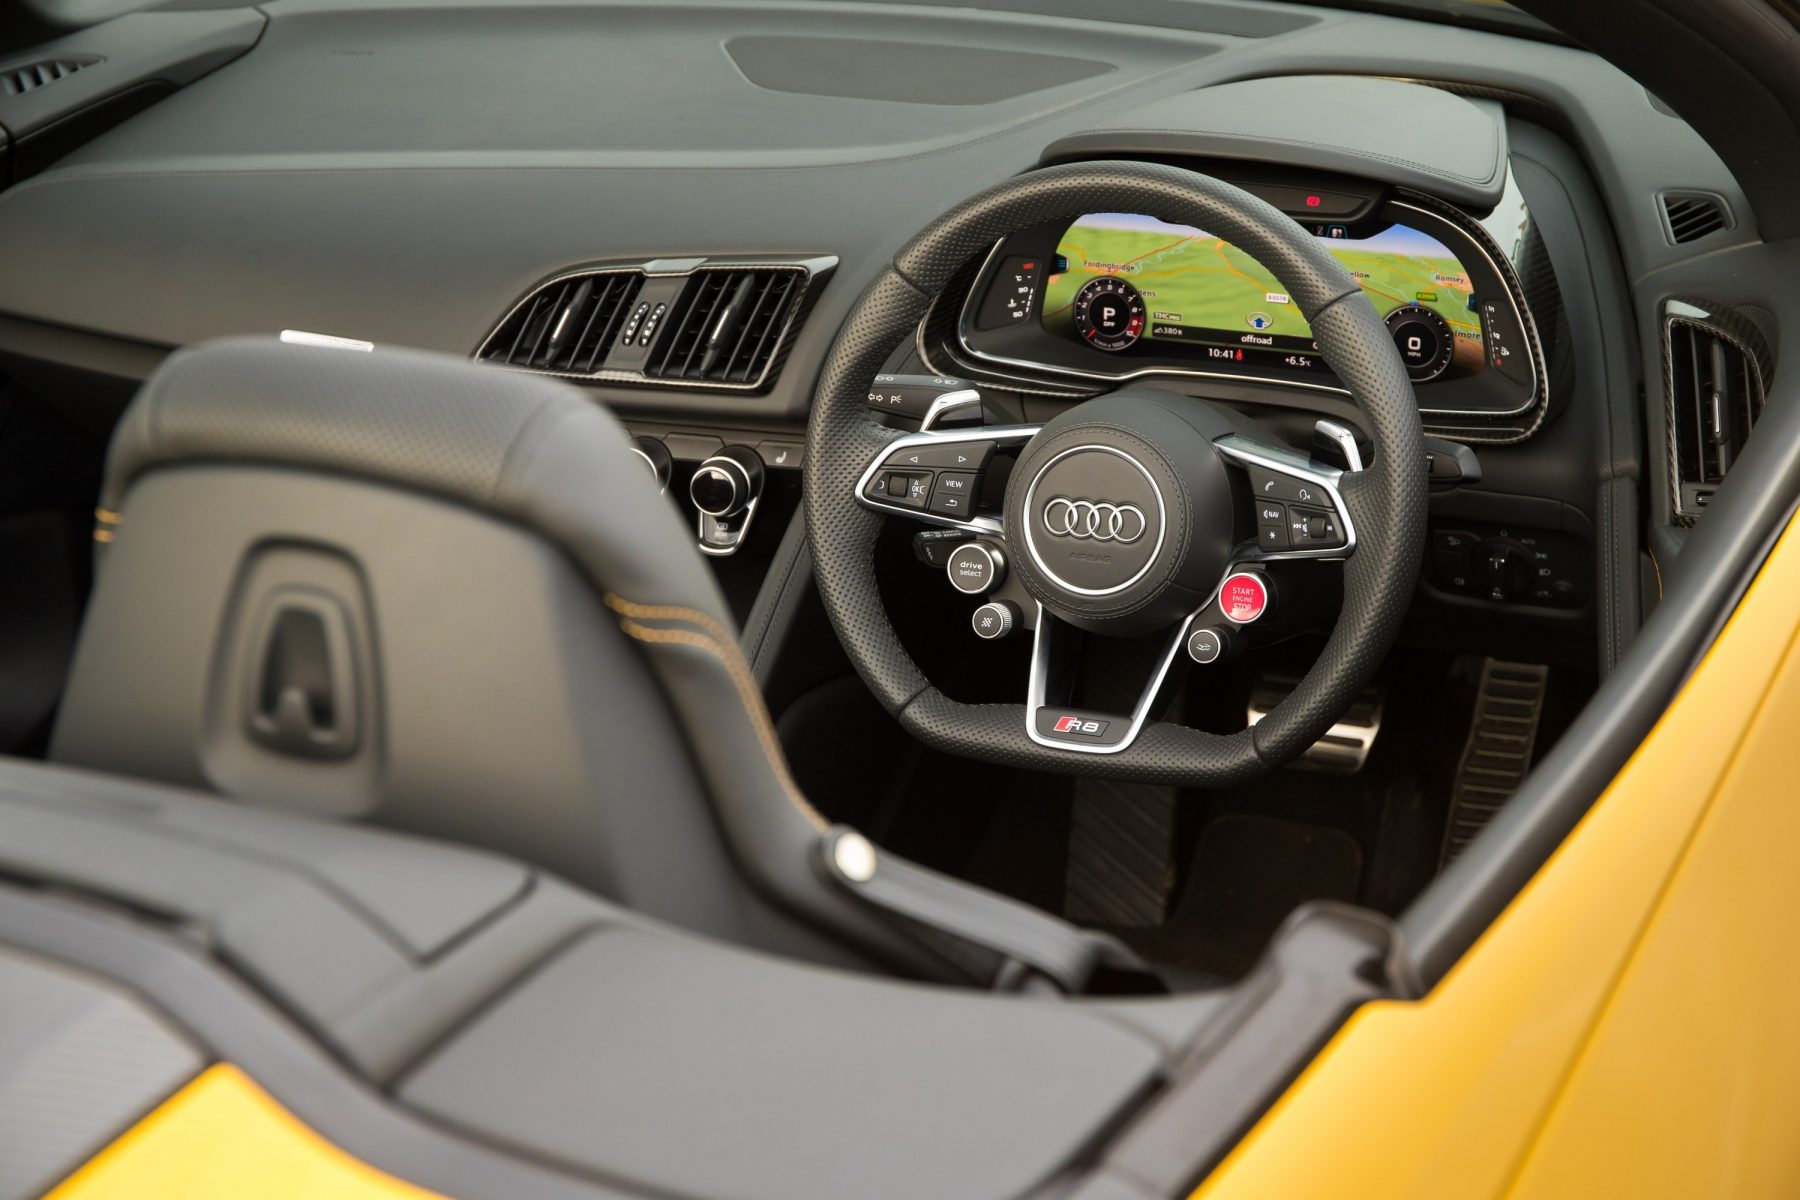
The 488 Pista’s cockpit has been designed to feel like the inside of a racing car. There are no luxuries, with lightweight materials such as carbon-fibre and Alcantara being used as much as possible.

Triangular- patterned hand-stitching, tread plates and heel rests are included, but the glovebox has been removed as part of weight-saving efforts in the under-dash area.
Strong exterior design
The design of the 488 Pista was guided by aerodynamics, as the car is totally geared towards performance. The S-duct at the front of the car was used by the designers as an opportunity to shorten the vehicle’s nose.

The splitter in the side air intakes has been removed and aerodynamic profiles run along the length of the car. The dolphin-tail rear spoiler gives an impression of lightness and the rear diffuser juts out prominently. To top it all off, a two-tone livery covers the whole car and completes the sporty look.
Price
Order books for the 488 Pista opened after the car’s debut at the Geneva Motor Show at the start of March.

Even before options, it costs £252,695 – though this could easily get close to £300,000 after a few options boxes have been ticked.
It’s a ‘special series’ car, meaning that it’ll have a fixed production run but won’t be limited in number – however Ferrari won’t confirm how long that production period will be.
F1-inspired aerodynamics
The 488 Pista is 20 per cent more aerodynamic than the car it’s based on, thanks to a number of advancements made by the marque’s engineers.
The front radiator arrangement has been completely redesigned, with hot air being directed to the underbody ahead of the front wheels.

Rear intercooler performance has been improved by 10 per cent and the virtual fairing of the exposed area of the tyre cuts drag by seven per cent.
Lower centre of gravity
The Pista is 90kg lighter than the standard 488, making it more agile and responsive. These reductions have been made in the most weight- sensitive areas of the car, away from its centre of gravity.
A side slip control system has been incorporated, along with a lateral dynamics control system.
What’s in a name?
Well, the name ‘Pista’ means ‘Track’ in English – and this acknowledges Ferrari’s extensive motorsport heritage.
Carbon-fibre wheels
The 488 Pista is available with lightweight carbon-fibre wheels. These come with a composite aluminium and ceramic coating on the inside of the wheel.
An extreme homage to #Ferrari’s unparalleled heritage in motor sports. #Ferrari488Pista
— Ferrari (@Ferrari) March 20, 2018
As well as being impressive light – 40 per cent lighter than a standard wheel, in fact – the alloys have been tested to withstand temperatures of up to 1,200ºC.
That coating helps protect the carbon-fibre from the high temperatures of the carbon-ceramic brakes, which can hit up to 800c.
Motorsport-inspired mechanicals
The 488 Pista uses many components from Ferrari’s 488 GTE and 488 Challenge race cars.
Our racing heart beats fiercely. #Ferrari #488GTB pic.twitter.com/CVExwHLf3u
— Ferrari (@Ferrari) March 19, 2018
These parts include the engine and aerodynamics, while the weight saving measures taken also come from the high-performance racers. They help make the Pista 90kg lighter than a standard 488 GTB.
Ferrari Dynamic Enhancer
The Pista is the first car to benefit from Ferrari’s Dynamic Enhancer system. This system uses software to adjust the brake pressure at each individual wheel.
Introducing the extremely high performance of the #Ferrari488Pista: https://t.co/ePYTl6MO4q pic.twitter.com/4ucHWqscIB
— Ferrari (@Ferrari) March 19, 2018
Why? It means that the car can actively change the amount of brake used at any given time, helping improve cornering speeds as well as with traction coming out of the bends.
Incidentally, the Pista’s brake servo comes from the 488 Challenge race car, and that means that braking is immediate, without any ‘softness’ at the top of the brake pedal’s travel.
Fast lap times
The 488 Pista posted a lap time of 1:21:5 around Ferrari’s Fiorano test track. Incredibly, that’s 1.5 seconds quicker than the regular 488 GTB – showing that the car’s updates really do help it achieve the best times on the circuit.


